

You've gathered a robe, a heartfelt card and a few wedding details you don't want to lose. Now they're spread across the spare bed, and you're wondering how to turn them into a gift that feels considered rather than crowded. A bridal keepsake box should be lovely to open, useful for its intended occasion and practical to keep afterwards. The secret is choosing its purpose before choosing its contents.
Begin With the Purpose of Your Keepsake Box
On the wedding morning, a bride lifts the lid and finds her robe ready to wear, a note from her maid of honour and a family keepsake tucked into its own protective wrapping. Nothing needs rummaging through. The gift feels personal because someone has thought about what she'll need, what she'll treasure and what deserves its own space.
That's a useful starting point, whether you're preparing a bridesmaid proposal, a hens-party surprise, a thank-you gift or a private wedding memory box. Choose the moment you're marking before you start decorating. A box intended for opening during hair and makeup has a different job from an archive assembled after the honeymoon.
Match the contents to the recipient
For a proposal gift, a personal card and a carefully chosen keepsake may be enough. Don't add unrelated accessories because there's room left.
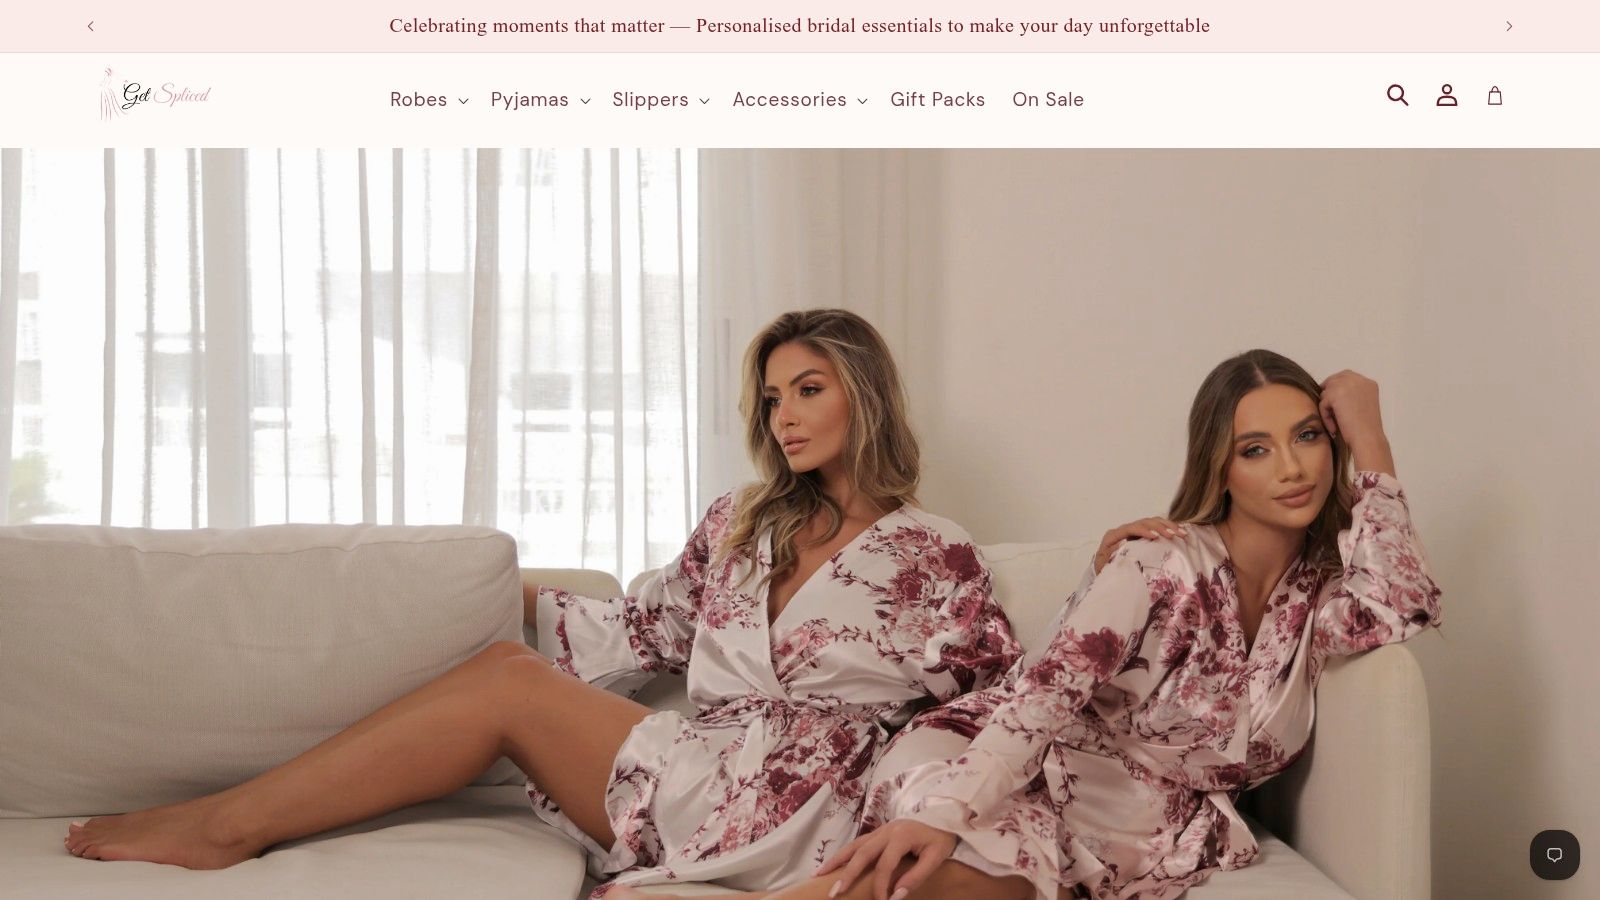
A bridal-party gift needs a different approach. You might coordinate robes and champagne flutes while giving each recipient an individual note. Australian boutique Get Spliced offers bridal boxes and personalised hampers as an option for these gifting occasions; assembling your own selection is another approach.
Before buying anything, settle these points:
- Recipient: Is this for the bride, a bridesmaid, a parent or the couple?
- Occasion: Will they open it at a proposal, a celebration, while getting ready or after the wedding?
- Emotional focus: Should it celebrate friendship, family history or the marriage itself?
- Future home: Will the recipient keep it in a cupboard, display it or use it for everyday storage?
The answers should influence what you leave out as much as what you include. A thoughtful gift doesn't need to represent every part of the wedding.
Practical rule: Choose the box around the moment it's meant to mark, not simply around what looks attractive.
Choose a Bridal Keepsake Box That Fits
Choose the container around the largest protected item. A champagne flute needs room for cushioning, not just enough space for the bare glass. A folded robe needs depth without the lid pressing it flat.
Arrange the intended contents on a clean surface before ordering. Measure their packed footprint, including sleeves, wrapping and separators, then compare it with the box's usable internal dimensions. External measurements alone won't tell you whether everything fits.
Check the interior rather than just the lid
For a robe-and-flute gift, plan a separate position for the glass rather than laying it beneath the fabric. The recipient should be able to lift out the robe without disturbing a fragile item. For another perspective on this particular inclusion, ROCKS Whiskey Chilling Stones has a resource on choosing a gift box for glassware.
Look beyond colour and personalisation when comparing options:
- Rigidity: Choose a base and sides that hold their shape when you lift the filled box.
- Lid clearance: Allow the lid to close naturally, without pushing against raised decorations or contents.
- Access: Make sure cards, fabric and accessories can be removed without pulling on neighbouring items.
- Adaptability: Prefer an interior you can rearrange when wedding-day gifts give way to photographs and letters.
A shallow box can suit invitations and vows beautifully, but it's the wrong choice for bulky slippers or a robe. Equally, an oversized container can make a modest gift look unfinished and tempt you to buy unnecessary fillers.
If the contents won't fit comfortably, change the arrangement or separate the gifts. Don't force everything into a decorative box to keep the presentation together. A box that closes easily is more useful than one that only looks right while open.
Choose Keepsakes With Meaning and Purpose
Give each inclusion a clear job. It should carry emotional meaning, serve the wedding day or help preserve the story afterwards. Some pieces will do more than one, but none should be there solely to fill a gap.
For a bride who values family history, a handwritten letter and an heirloom accessory may matter more than coordinated merchandise. For a maid of honour organising matching gifts, robes, slippers and individual proposal cards may be the more appropriate choice. Neither approach needs embellishing with unrelated trinkets.
Bridal Keepsake Box Content Choices
| Content type | Best suited to | Practical example |
|---|---|---|
| Emotional keepsake | A personal proposal or family-centred gift | A letter explaining why the recipient matters |
| Wedding-day useful | Getting-ready gifts | A robe, slippers, clutch or champagne flute |
| Future archive | Remembering the ceremony and celebration | Vows, an invitation or a printed photograph |
| Family heirloom | Preserving a connection across generations | Jewellery accompanied by its ownership history |
Use wedding-day keepsake ideas to build a shortlist, then edit it around the recipient rather than copying an entire collection. A bride who rarely wears jewellery may appreciate a letter more than another accessory. Someone who loves printed photographs may prefer space reserved for images chosen after the wedding.
Leave out anything that compromises the collection
Keep fresh or damp flowers, food and uncured adhesive-backed decorations out of the keepsake box. These can introduce moisture, staining or deterioration to neighbouring materials, so treat them as separate presentation elements rather than permanent inclusions.
Be selective with bulky objects, too. You can photograph a table decoration without committing to storing it beside intimate letters and vows. Keeping an image is often a more practical way to remember something that doesn't belong in a small personal archive.
Keep the pieces that tell the recipient's story, not every object that happened to be at the wedding.
Apply a final test to each candidate: Does it add a story, serve the day or preserve a memory? Then ask whether the recipient would choose to keep it. If the answer is no, leave it out rather than making the finished box harder to use.
Pack Each Item With Care
A decorative exterior isn't a preservation system. The lining, sleeves and separators protect the contents, so put as much thought into them as you put into the ribbon.
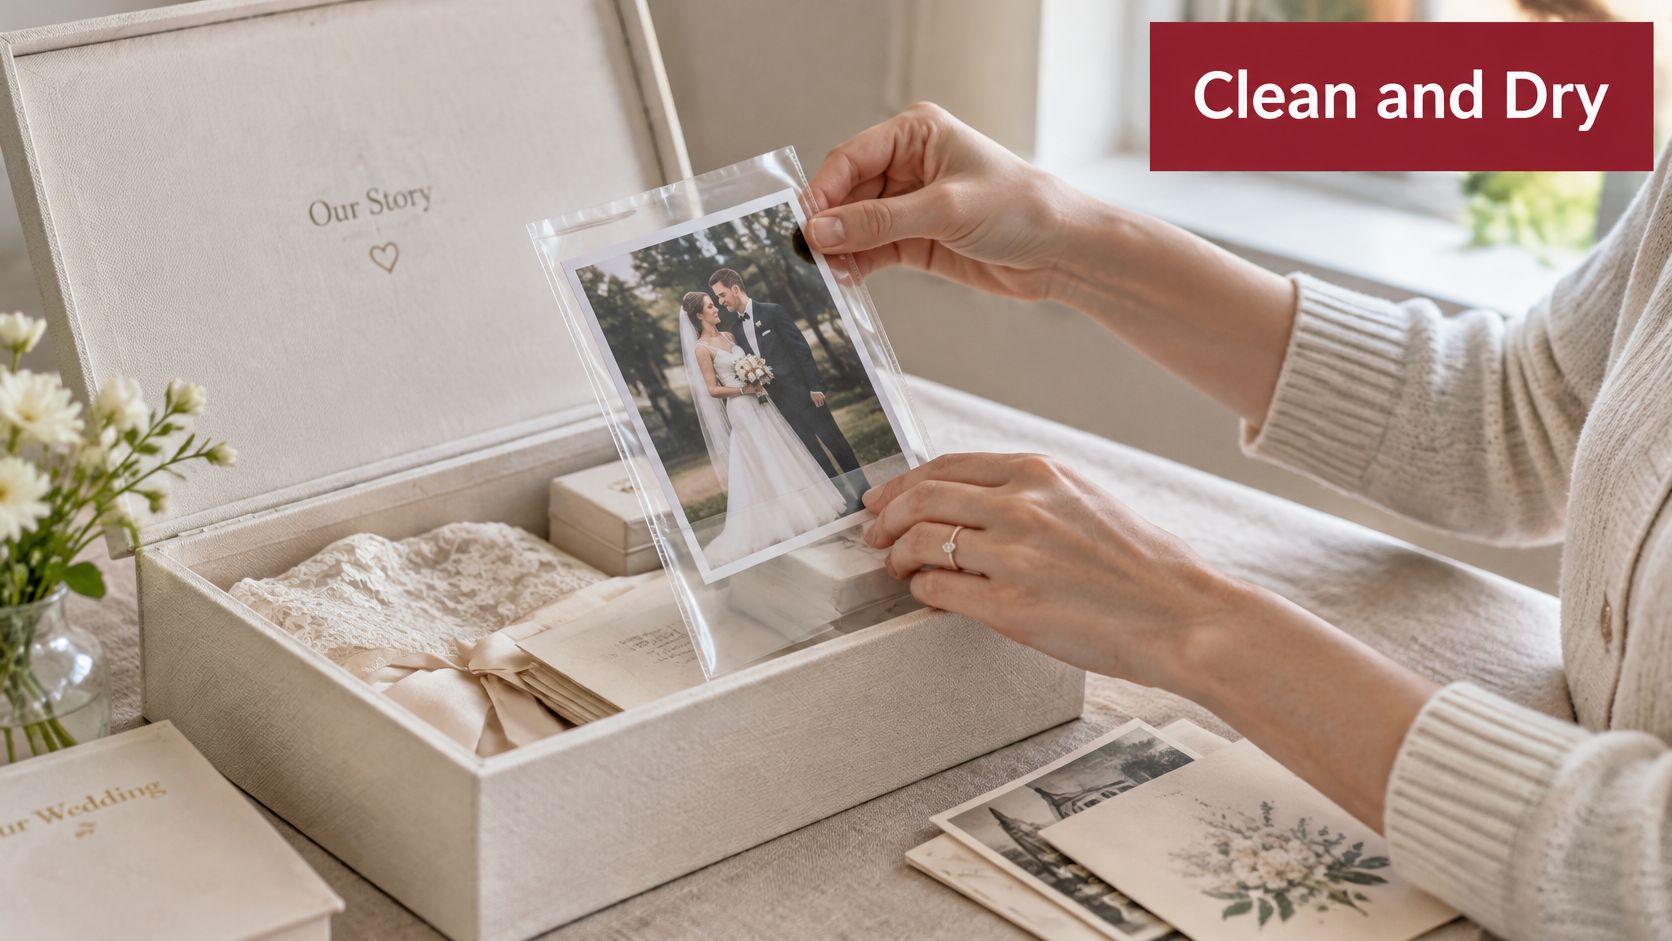
Begin only when every inclusion is clean and completely dry. The Western Australian Museum's collection-care guidance supports using neutral, acid-free materials for mixed collections containing paper, photographs and sensitive materials such as silk, wool or leather. Don't assume alkaline-buffered board is suitable for every item.
Assemble from protected pieces
Imagine you're packing handwritten vows, a printed photograph, a satin accessory and small jewellery. Prepare each separately before arranging the finished display.
- Line the box: Use neutral, acid-free tissue, suitable barrier paper or an archival plastic liner so memorabilia doesn't rest directly against ordinary cardboard.
- Enclose paper and photographs: Put them in suitable acid-free sleeves or folders rather than leaving them loose beneath other gifts.
- Separate the textile: Wrap the satin accessory loosely in neutral, acid-free tissue, keeping it away from anything that could transfer dye or oil.
- Secure the jewellery: Give small metal pieces their own protected compartment or enclosure so they can't scratch photographs or catch delicate fabric.
Interleave fragile surfaces and cushion individual objects so they stay in place. Keep heavier pieces away from vulnerable paper, and don't use the robe itself as permanent padding for unrelated objects.
Avoid PVC sleeves, newspaper and rubber bands. Don't tape original vows or photographs into position, even if that would make the presentation easier to arrange.
Check movement and pressure
Close the box and gently tilt it. If anything slides, improve the cushioning or change the layout rather than adding pressure from above.
Open it again and check that the lid hasn't flattened an item, bent paper or pressed against embellishments. Confirm that photographs aren't touching fabric or adhesive surfaces. The completed arrangement should stay stable without being tightly compressed.
If you'll remove protective layers for wedding-morning photographs, keep them together nearby. Restore the protective arrangement before the box goes into storage.
Personalise Without Overcrowding the Box
Personalisation should suit the recipient's future use, not just the opening photograph. A permanent name or monogram can be appropriate for a private wedding archive. A removable tag is more adaptable when the box may later hold everyday accessories or pass to someone else.
Don't assume permanent customisation is automatically the more thoughtful choice. The right method is the one the recipient will still enjoy living with.
Compare permanent, removable and digital details
| Method | Emotional appeal | Future flexibility |
|---|---|---|
| Permanent monogram | Makes the container feel deliberately chosen | Suits someone who wants to retain its bridal identity |
| Removable tag or sleeve | Adds a personal greeting without altering the box | Allows a different purpose or recipient later |
| Digital label or QR card | Connects physical keepsakes with recorded memories | Needs a maintained destination and separate backup |
A bride's name and wedding date may be all the lid needs. Inside, coordinate with an existing wedding colour rather than introducing a separate theme for every accessory. Use a restrained choice of lettering and finishes so the contents remain the focus.
A removable card also gives you space for words that matter. Beside an heirloom, record who owned it, who gave it and why it was included. That history is more useful than decorative wording whose meaning may be forgotten.
Leave breathing room
Arrange visible items so the recipient can recognise each piece without lifting a pile of decorations. Put longer messages in a card rather than covering the interior with text.
Design advice: Let the personal detail be the focal point. It doesn't need to compete with every ribbon, label and printed surface.
For digital additions, explain what the code opens, such as a recording of the speeches. Keep a separate copy of the files rather than treating the code itself as the archive.
Present and Deliver the Finished Box
The keepsake box is the gift. The outer carton is the transport protection. Keep those jobs separate, particularly when posting glassware or a personalised box whose surface forms part of the presentation.
Finish the gift with tidy wrapping and a card that's easy to find. Keep presentation adhesives and decorative extras away from archival contents. If you're considering help with the finish, gift-wrapping services can be part of the planning, but wrapping never replaces protective packing.
Protect the presentation during transit
Use a rigid outer carton, wrap the keepsake box separately and cushion it on every side. Australia Post's parcel preparation guide recommends boxes and protective filler; its guidance also notes that flat surfaces help with label positioning and parcel stability.
Before sealing the carton, check the practical details:
- Internal stability: Fragile inclusions should remain secured inside their own protected arrangement.
- Outer cushioning: Fill unused space so the presentation box can't shift against the carton.
- Clear addressing: Place the delivery label on a flat outer surface, not over ribbon or decorative folds.
- Recipient availability: Confirm the address and whether the recipient will be there before the celebration.
Compact packing matters, but don't remove necessary protection to make the parcel smaller. For non-prepaid packaging up to 5 kg, Australia Post's size and weight guidelines say charges use whichever is greater, physical weight or cubic weight. A lightweight but oversized gift can therefore cost more to send than its scale weight suggests.
Work backwards from the occasion
Domestic Parcel Post commonly takes 2–6 business days, depending on the destination and sending details, according to Australia Post's domestic delivery guidance.
For a Saturday hens celebration, don't count backwards through calendar days and assume that's enough. Allow the stated business-day transit window, then add time for personalisation, packing and a delivery buffer. Public holidays, interstate travel and regional or remote destinations all deserve attention when planning.
Give the organiser tracking details separately from the gift message. That lets them manage delivery without spoiling what's inside.
Preserve and Reuse the Box
After the wedding, remove temporary presentation materials and prepare the box for its longer-term role. Choose a dark, dry internal cupboard, rather than an attic, garage, bathroom, basement or position against an external wall. Display replaceable decorative pieces if you like, but keep vulnerable originals away from prolonged light.
For paper records, National Archives of Australia storage guidance specifies approximately 17–23°C and 30–50% relative humidity, with limited daily variation. For a home collection, focus on finding stable conditions rather than relying on how comfortable the room feels when you happen to open the cupboard.
Establish a manageable care routine
Place a digital thermo-hygrometer beside the box for seven days, then review readings monthly and after major weather changes. If relative humidity repeatedly exceeds 60%, relocate the box or improve room conditioning rather than putting uncontrolled desiccant among sensitive materials.
Handle keepsakes with clean hands and inspect them annually for odour, spotting, insects, moisture or adhesive failure. Consult the care instructions relevant to individual accessories before cleaning them.
Keep digital copies of vows, letters and speeches separately from the originals. Record who gave each heirloom, and retain those notes with the collection. Reuse should be deliberate, too: choose a new role that doesn't compromise the memorabilia you've decided to preserve.
Your finished-box checklist
- Purpose confirmed: The recipient and occasion guide the selection.
- Contents edited: Each inclusion has a meaningful or useful role.
- Personalisation considered: The finish suits future use.
- Packing checked: Protected pieces remain secure without compression.
- Delivery planned: Preparation and transit have realistic breathing space.
- Storage ready: A suitable cupboard and care routine are in place.
Start by laying out the pieces you already have and writing down who the box is for. Remove anything that doesn't belong, measure the remaining arrangement and choose the container last. You'll create a bridal keepsake box that's considered on the day and worth opening again in the years ahead.